

The Complete Guide to Water Heater Installation
In the realm of household amenities, few are as essential and taken for granted as the water heater. These unsung heroes silently toil away, ensuring our showers are warm and dishes are clean. Yet, when it comes to installing or replacing one, the process can seem daunting. Fear not, for this comprehensive guide will walk you through the intricacies of water heater installation, demystifying each step along the way.
Understanding Your Water Heater
Before delving into installation, it’s imperative to understand the different types of water heaters available:
- Conventional Tank Water Heaters: These are the most common type, storing heated water in a tank until needed.
- Tankless Water Heaters: These units heat water on-demand, offering energy efficiency and space savings.
- Heat Pump Water Heaters: Utilizing heat from the air or ground, these systems are highly efficient but may require specific installation considerations.
Assessing Your Needs
- Determine Size Requirements: Calculate your household’s hot water demand to select an appropriately sized water heater.
- Fuel Source Considerations: Decide between electric, gas, or solar-powered options based on availability and cost-effectiveness in your area.
- Location Matters: Consider spatial constraints and ventilation requirements when choosing a placement spot for your water heater.
Preparing for Installation
- Gather Necessary Tools: Equip yourself with essential tools like wrenches, pipe cutters, and a voltage tester.
- Safety First: Shut off power and water supply to the area where the installation will occur to prevent accidents.
- Clear the Area: Ensure ample workspace and remove any obstacles that might hinder the installation process.
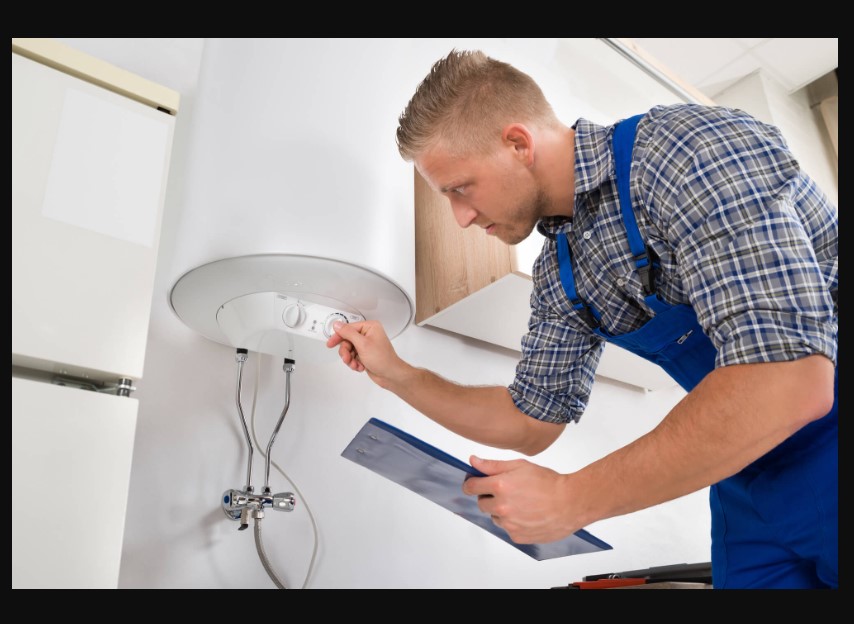
Installation Process
- Removing the Old Water Heater: Drain the tank, disconnect electrical or gas connections, and carefully remove the old unit.
- Prepare the Installation Site: Clean the area and, if necessary, install a drip pan and earthquake straps to meet local building codes.
- Connect Water Supply: Attach the inlet and outlet pipes, ensuring proper alignment and sealing with plumber’s tape or compound.
- Electrical or Gas Connections: Follow manufacturer instructions to connect wiring or gas lines, ensuring proper ventilation and safety measures.
- Tankless Water Heater Installation: Mount the unit securely, connect water and gas lines, and verify proper operation according to the manufacturer’s guidelines.
- Testing and Inspection: Turn on the water and power supply, checking for leaks and ensuring the unit functions correctly.
Post-Installation Considerations
- Insulation and Energy Efficiency: Consider adding insulation to your water heater and pipes to improve energy efficiency and reduce heat loss.
- Regular Maintenance: Schedule periodic maintenance tasks like flushing the tank and inspecting components to prolong the lifespan of your water heater.
- Warranty and Service: Keep track of warranty information and contact a professional for repairs or servicing when needed to maintain optimal performance.
Conclusion
Water heater installation doesn’t have to be a daunting task with the right knowledge and preparation. By understanding your needs, following proper installation procedures, and staying mindful of safety considerations, you can successfully install a new water heater or replace an old one with confidence. Remember, if you’re ever unsure, don’t hesitate to seek professional assistance to ensure your water heater operates efficiently and reliably for years to come.
You may also like

Easy and Effective Pest Control Techniques for Your Home
Rodents, ants, beetles, termites, and wasps, for example, are not only damaging but also dangerous t

Which Roof Is The Best For Your Home in Michigan?
In Michigan, frigid winds and frozen precipitation come from all directions and it’s the roof that

The Kitchen Renovation Doesn’t Have to Be As Painful As You Might Think
You’ve contacted your tipping point: the toaster oven won’t work when the coffeemaker